If you read my previous post, I’ve been on a journey to make my freezer smarter. As it turns out, freezing a SmartThings ZigBee Multisensor tends to destroy CR2450 batteries. I’m sure that, coupled with the continuous temperature rise and drop contributed to this solution not working for me.
After doing EXTENSIVE searching for the “right” solution, I found a few battery powered options. I wanted something hardwired to power, with a waterproof temperature sensor. To my surprise, this product category did not exist. So I set out to make my own solution.
My goal here is to show you everything you need to know about making a ESP8266 Wi-Fi node that communicates via MQTT and/or directly publishes to a SmartThings HUB. I’ll share the hardware, schematics, code, and some pictures of the finished product.
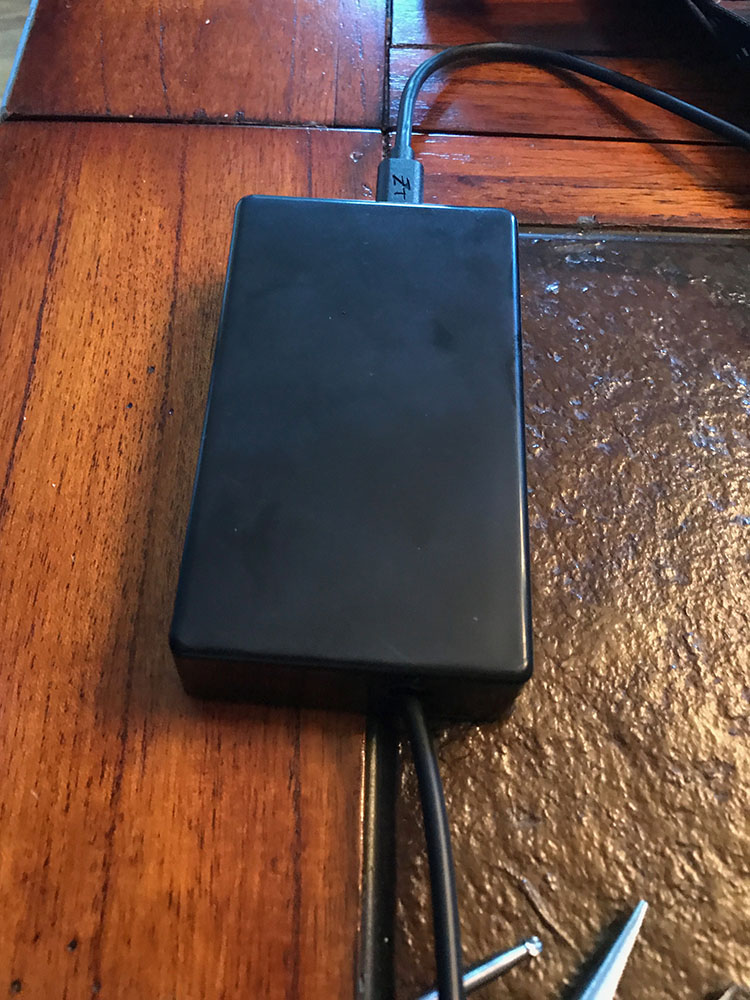
Here are a couple of pictures of the finished product. If this interests you, read more after the break.
 |
 |
Continue reading…!
Shopping!
Time to go shopping! I know I wanted to try out an ESP8266 after seeing the multitude of cool projects done with it. Plus the development kit is only $8-9 USD. Why not?
Shopping List:
- HiLetGo NodeMCU ESP8266 : $8.79
- Hilitchi DS18B20 Waterproof Temperature Sensor: $13.99
- 4.7k Ohm Resistor Through-hole: $5.70
- Alpulon USB Wall Charger: $10.69
- Yosoo 5pc 100x60x25mm Plastic Enclosure: $11.99
- Zeal-Tech 6ft USB to Micro USB Charging Cable: $9.99
- 140-pc Jumper Wire Kit: $6.45
- Qunqi 400 tie point breadboard: $10.69
Total Cost: $78.29
Now, there are a lot of parts on the list above you might already have, or might find in lower quantities. I actually wanted some extra of everything for upcoming projects (Stay tuned!). BOM cost for this project will be around $21.65. That isn’t too bad IMHO.
Other stuff (if you don’t already have these), just to make life easier:
- Gorilla Tape (Used for Taping to Freezer) : $7.99
- Scotch Permanent Mounting Tape (Mounting): $3.96
- Dremel 3000: $69.00
- Dupont Wire Kit (Prototyping): $8.86
Total Cost: $89.81
You may also want some standard electronics equipment like a multimeter, pliers, ESD protection, oscilloscope, etc. These aren’t totally required for this project.
Schematics
This is going to be pretty easy. The ESP8266 is doing all of the heavy lifting for this project. Having the development kit takes care of DC voltage regulation, USB serial, WiFi, and the code space to make it do your bidding. All we need to do is wire up the DS18B20.
The DS18B20 is a 3 wire interface.
- Red is your supply voltage (VDD) from 3.0V to 5.0V. For this, we are going to take power from the ESP8266 off one of the 3.3V voltage pins.
- Black is your ground (GND). For this, we are going to take ground from the ESP8266 off one of the GND pins.
- Yellow is your 1-Wire serial interface (DQ) for communicating with the sensor. For this, we are going to wire this to one of the GPIO’s on the board.
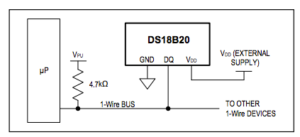
Wiring up this sensor is pretty straight forward, but there is one thing you will need to do to ensure proper communications over the 1-wire serial interface. You will need to make sure you install a pull-up resistor (4.7kΩ) on the 1-wire serial interface (Yellow) above as shown in this diagram from the datasheet. Here is a schematic of how this looks.
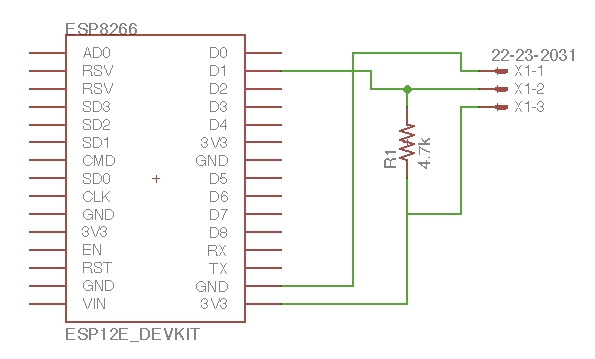
For this example, here is a snapshot of our planned schematic.
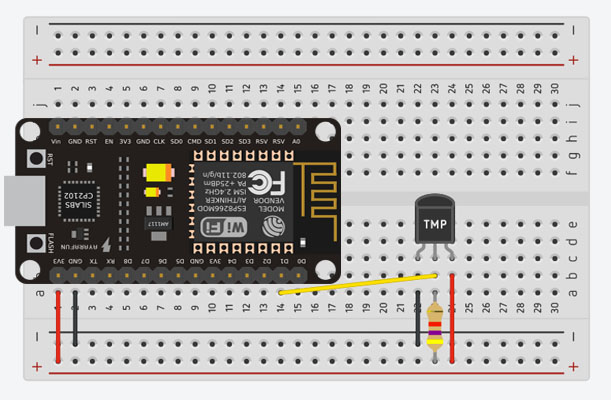
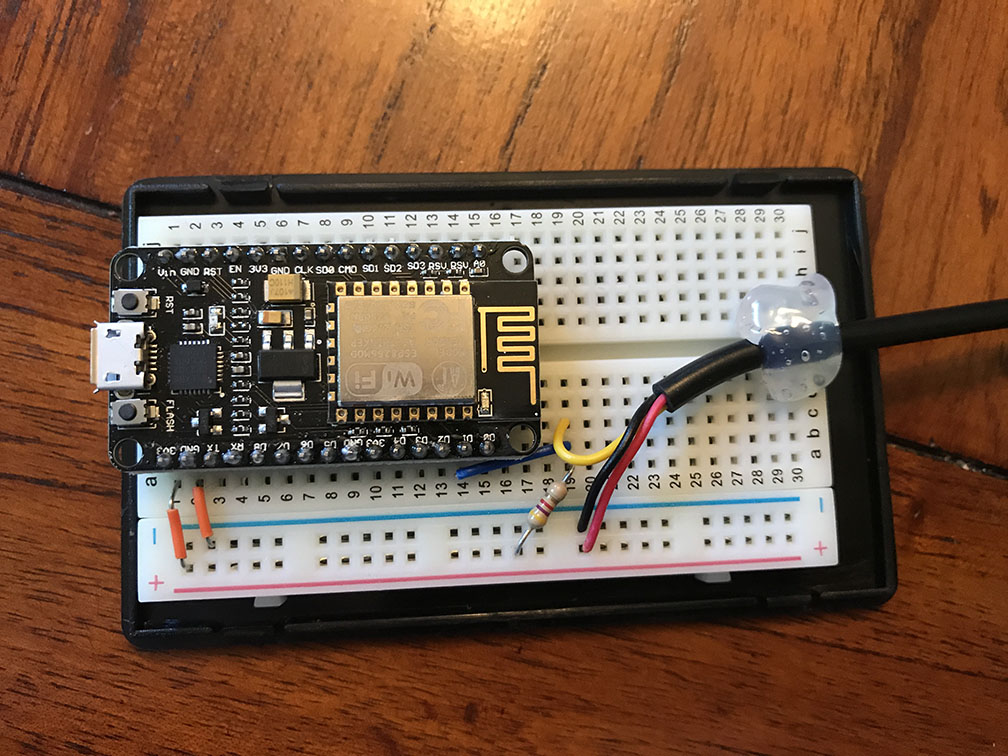
And here is how it will look on our breadboard
Time for some real work!
Now it’s time to wire this guy up. Here are some photos of the project. (Note: This project can easily be done sans breadboard by soldering directly to the pins on top of the board. I chose to use a breadboard mostly because I had the space in my box. Your choice here on what path you want to take!)
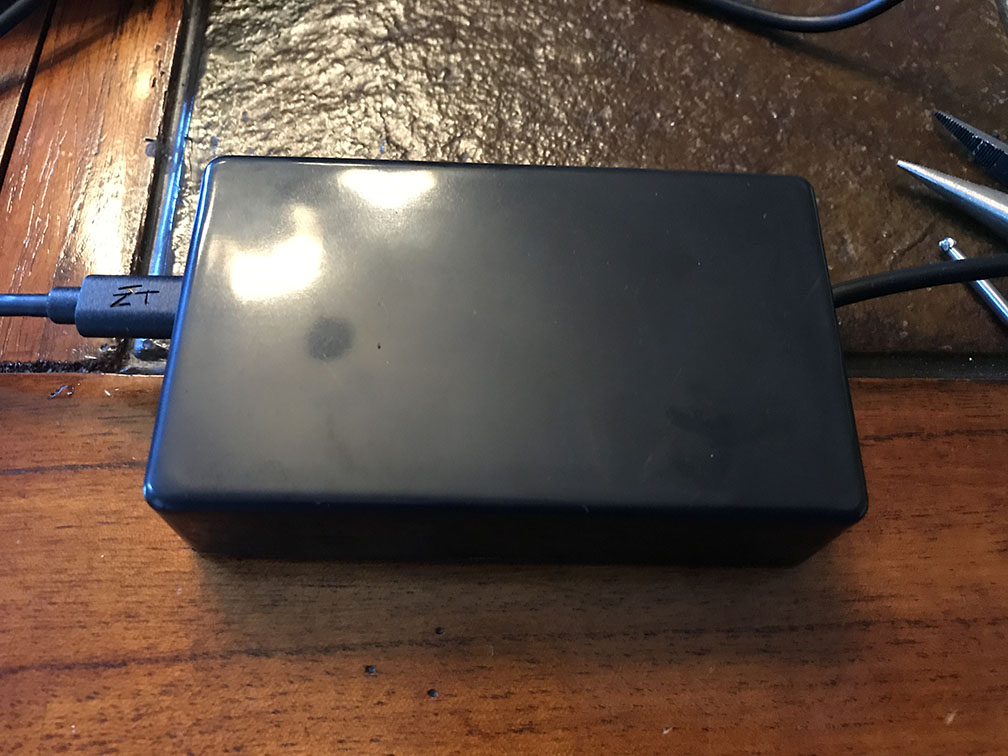
Some “Next Level” Dremel work here…
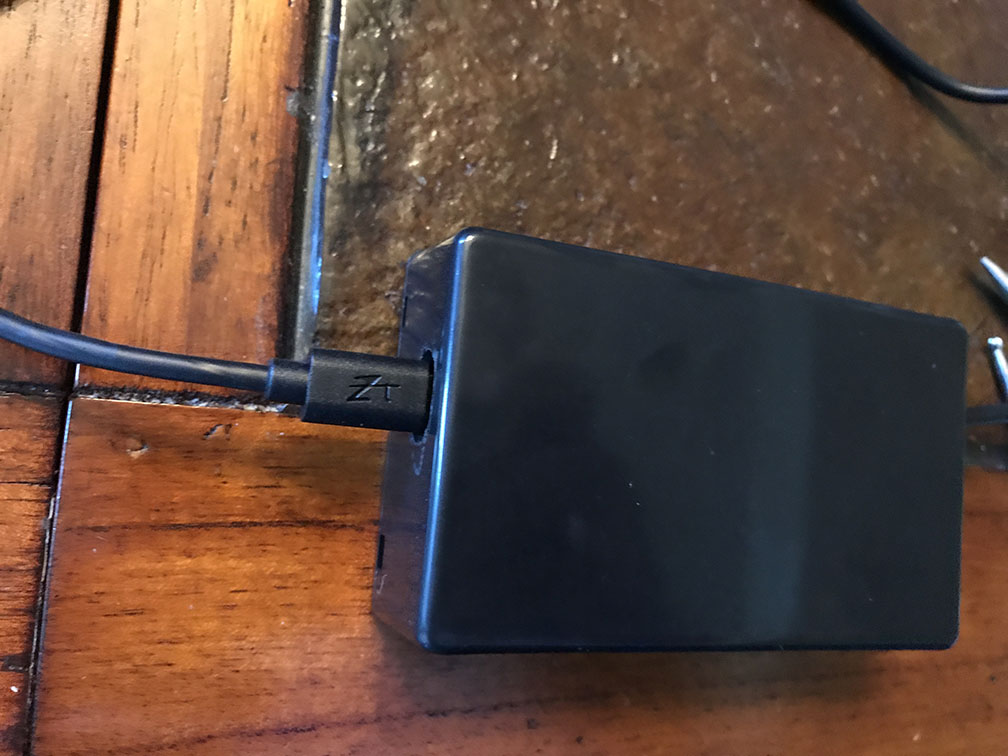
Annndd.. A glamor shot
Let’s write some code! [Coming Soon]
I recommend taking the device out of the box before starting this. Getting to see the LED status is very handy as you start downloading code and testing.
[Will post the code once I get it up on my git repo.]