About a month ago, I went out into the garage to grab some hamburger meat for dinner. As I opened the deep freezer in the garage I was immediately slammed with a horrific odor. That’s right, worst case scenario, for some reason my garage freezer was at room temperature and everything was ruined. This is the second time in 6 months this had happened. Both times the GFCI popped in the garage (for reasons unknown), which caused power to be cut to the deep freezer. Massive loss of about $350 worth of meats and other frozen foods.
Thus begins my journey to make my deep freezer smarter.
Step one was to determine root cause (why did the GFCI Pop?)
Well, this is a simple note to anyone moving into an older home with GFCI outlets. Older outlets can wear out over time if they have been popped multiple times. Easiest fix is to first replace the outlet.
I wanted to go with a Z-Wave GFCI outlet to monitor with SmartThings, but to my surprise, this product doesn’t exist! Sure I could add a smart plugin outlet and maybe monitor power, but you kind of need something with a backup battery. Even if I installed this, I still would not know if the freezer was getting cold.
So the first step was to buy a new GFCI outlet. I ended going with this one, which has an audible alarm. I figured an audible beep is better than nothing, even though we wouldn’t be able to hear this beeping from inside the house.
Next, I decided to go an entirely different route. Let’s monitor temperature. Easy enough. Find a Z-Wave/ZigBee sensor that works in a freezer, drop it in there, setup SmartThings, notify me when it goes above a certain temp.
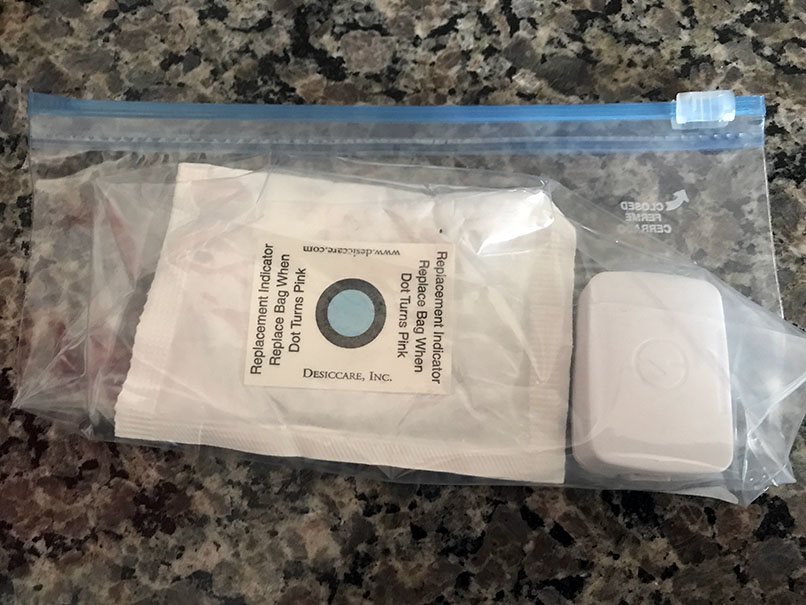
After reading about some success stories of people using a SmartThings ZigBee MultiSensor for this purpose in a deep freezer, I decided to give it a shot! Why not right? So I picked up one from Amazon, dropped it in a moisture tight freezer bag with a desiccant pack, put this in the freezer and set myself up to monitor freezer temps.
EASY PEASY, until day 2….
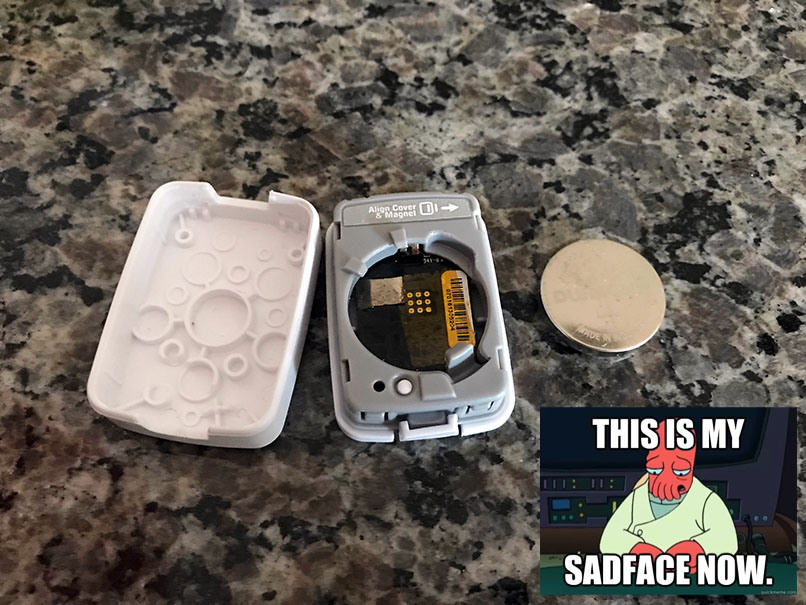
Now, I have around 5 of these MultiSensors doing various things in my house. Battery life is terrific…lasting roughly 6 months or longer depending on the application. I immediately noticed battery life plummeting on this sensor. Fast forward 2 weeks later, and I’ve now gone through three 2450 coin cell batteries.
Some background on deep freezers and compressor applications. Unlike a regular outdoor temperature or inside temperature, a deep freezer actually swings in temperature (quite dramatically) from -15F to -9F before the compressor turns back on to lower it back to -15F. Your temperatures may vary, but you get the idea. The MultiSensor is designed to capture 1F changes in temperature and report.
My immediate thought was – mmkay, so it’s reporting too much, killing my battery. I rewrote the stock groovy file for the MultiSensor to just focus on temperature and only report every couple of hours. I was going to link that here, but who cares, it doesn’t work. Battery still dies in 2-3 days.
Even though the batteries are specced for this temperature range, these devices simply eat batteries at temperatures below -10F. I even did research on 2450 batteries and chose a brand that was specced down to an operational range of -30F.
The sensor works great, but I can’t replace batteries weekly in this thing. So I thought – maybe hardwire the sensor to power, solder in a 3V PSU and go for it. I almost immediately changed my mind. The only thing worse than a moist deep freezer is having live voltage running into it from a DC power supply in a GFCI outlet. Shot this idea down before I started.
Okay easy enough, I’ll find a Z-Wave, ZigBee, of Wi-Fi device with an external waterproof temperature sensor. No dice, can’t find one.
So now I’m back to the drawing board. Here’s my gameplan. I’m going to buy a NodeMCU ESP8266 and a DS18B20 Waterproof sensor.
Shopping List:
- HiLetGo NodeMCU ESP8266 : $8.79
- Hilitchi DS18B20 Waterproof Temperature Sensor: $13.99
- 4.7k Ohm Resistor Through-hole: $5.70
- Alpulon USB Wall Charger: $10.69
- Yosoo 5pc 100x60x25mm Plastic Enclosure: $11.99
- Zeal-Tech 6ft USB to Micro USB Charging Cable: $9.99
- 140-pc Jumper Wire Kit: $6.45
- Qunqi 400 tie point breadboard: $10.69
Total Cost: $78.29
Now, there are a lot of parts on the list above you might already have, or might find in lower quantities. I actually wanted some extra of everything for upcoming projects (Stay tuned!). BOM cost for this project will be around $21.65. That isn’t too bad IMHO.
Other stuff (if you don’t already have these), just to make life easier:
- Gorilla Tape (Used for Taping to Freezer) : $7.99
- Scotch Permanent Mounting Tape (Mounting): $3.96
- Dremel 3000: $69.00
- Dupont Wire Kit (Prototyping): $8.86
Total Cost: $89.81
You may also want some standard electronics equipment like a multimeter, pliers, ESD protection, oscilloscope, etc. These aren’t totally required for this project.
Next Post (Part 2) will detail this DIY build and code examples. I plan to integrate this directly with my SmartThings HUB to report temperatures in real time!


